【簡単5分】STUDIOのお問い合わせフォームの作り方!

「お問い合わせフォームの設置って面倒くさそう、、、」と思われる方が多いですが、STUDIOのお問い合わせフォームは設置がとにかく簡単です。
STUDIOの操作に慣れていない方でも、5分あれば必ず実装できます。
そこで今回はSTUDIOのお問い合わせフォームの作り方、そしてよく使うカスタマイズ方法について詳しく説明していきます。
ぜひ参考にしてみてください!
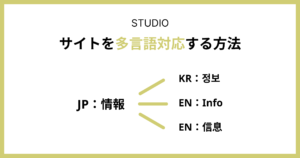
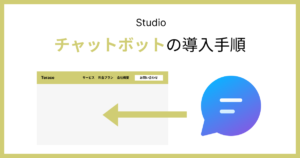
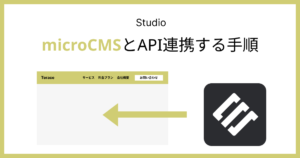
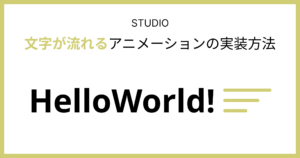
「Studioの使い方がまだイマイチわかっていない、、、」という方は、以下のマニュアルも参考にしてみてください。
Service
【最安15万円〜】
全てセット料金のホームページ制作サービス
サイト企画〜公開まですべてセット料金になっており、「余計な料金は一切いただかない」というのをモットーにしています。
最安15万円〜からホームページが作れて、すべてオリジナルデザインで制作可能です。また自社管理できる「Studio」というツールを用いているので、プランによっては維持費0円で運営できます。
期間限定で制作費用の3万円割引キャンペーンもやっていますので、ぜひお気軽にご相談ください!
お問い合わせフォームを設置するメリット3選
デジタル化が主流になった現代で、お問い合わせフォームはあって当たり前の存在になりつつあります。なぜならお問い合わせフォームは、お客様からしても、サービス運営者側からしても大きなメリットがあるからです。
- 文字情報で受け取れるので認識の齟齬が起きにくい
- 電話よりもハードルが低い
- 24時間いつでもお問い合わせを受けられる
これまでの受付方法は「電話」が主流だという会社は多いです。電話メインの会社だと認識の齟齬が起きやすくトラブルになるケースが多くなります。
ですがお問い合わせフォームを設置すれば、お問い合わせフォームで頂いた内容が文字情報で入ってくるので認識の齟齬をなるべく減らせます。
またお客様からしても電話のハードルは高いですが、お問い合わせフォームだと話す必要がないので心理的なハードルもグッと下がります。
 Kaji
Kajiハードルが低いと、お客様からのお問い合わせ数も増えやすくなります!
そして1番のメリットは、「24時間いつでもお問い合わせを受けられる」ということです。電話対応だと「9:00-18:00」の営業時間のみなど、時間が限られるケースがほとんどです。
ですがお問い合わせフォームはもちろん24時間稼働してくれます。
例えば、夜の21時にお客様がサイトを閲覧していて「このサービス良いな!申し込もう」となった時にも、お問い合わせフォームがあれば熱感が冷めることなくすぐに申し込んでくれるようになります。
Kaji熱感の高いお客様を逃さないことに繋がります!
「サービスの申し込み」・「お問い合わせ」を目的としているサイトであれば、必ずお問い合わせフォームは設置するようにしましょう。
STUDIOのお問い合わせフォームの作り方
STUDIOのお問い合わせフォームの作り方は、下記の5ステップとなります。
それぞれ画像を用いて、具体的に説明します。
①:お問い合わせフォームを設置する
新エディタ画面
左側のメニューの「追加」をクリックして、お問い合わせフォームを3つの中から選びます。
Kaji左がオーソドックス、真ん中がメールアドレスのみ、右が高機能なお問い合わせフォームになっています!
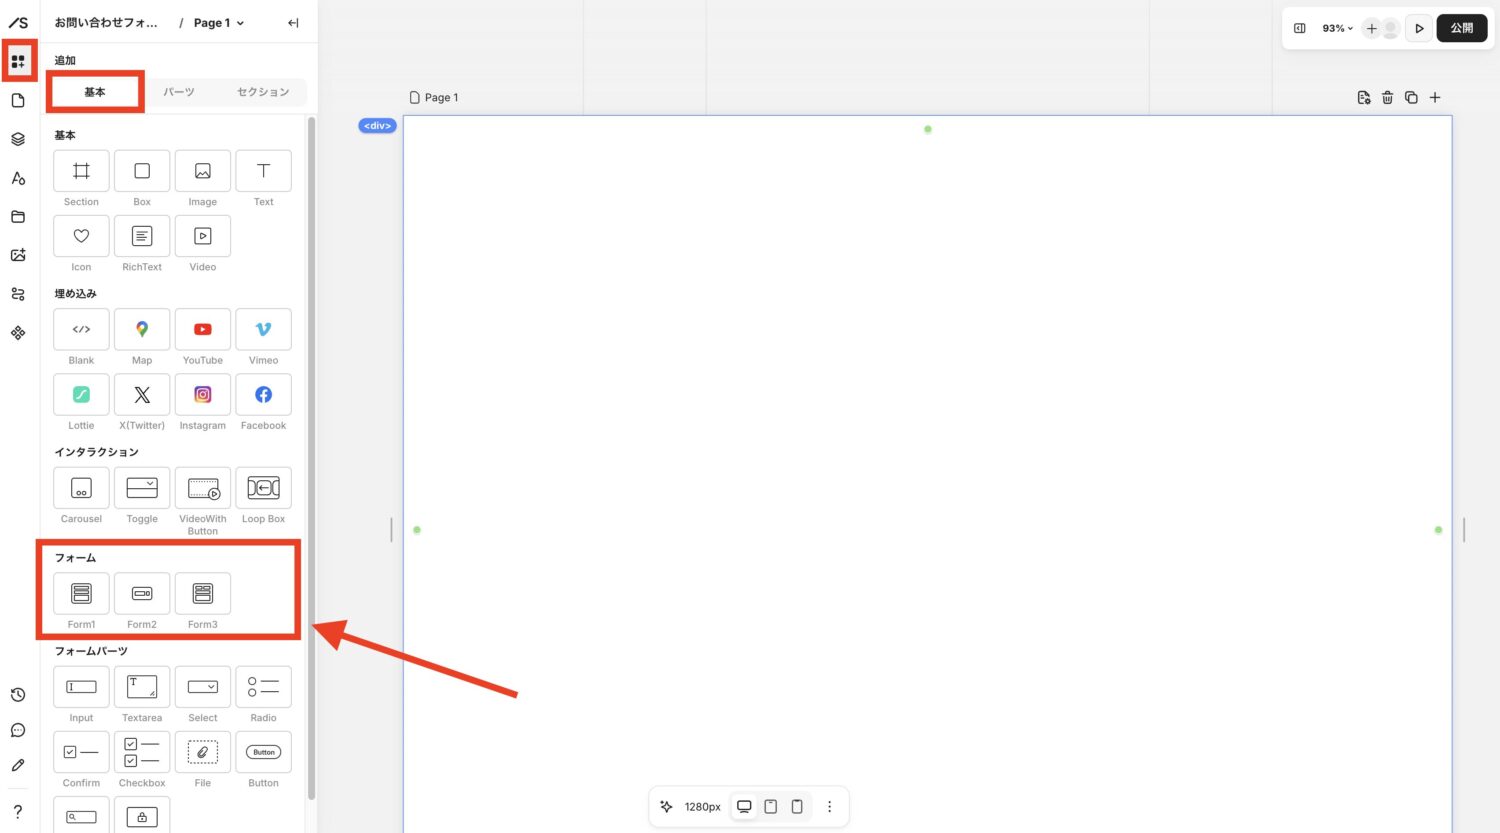
今回はよく使われる「Form1」を使用していきます。Form1を右側にドラッグ&ドロップしましょう。
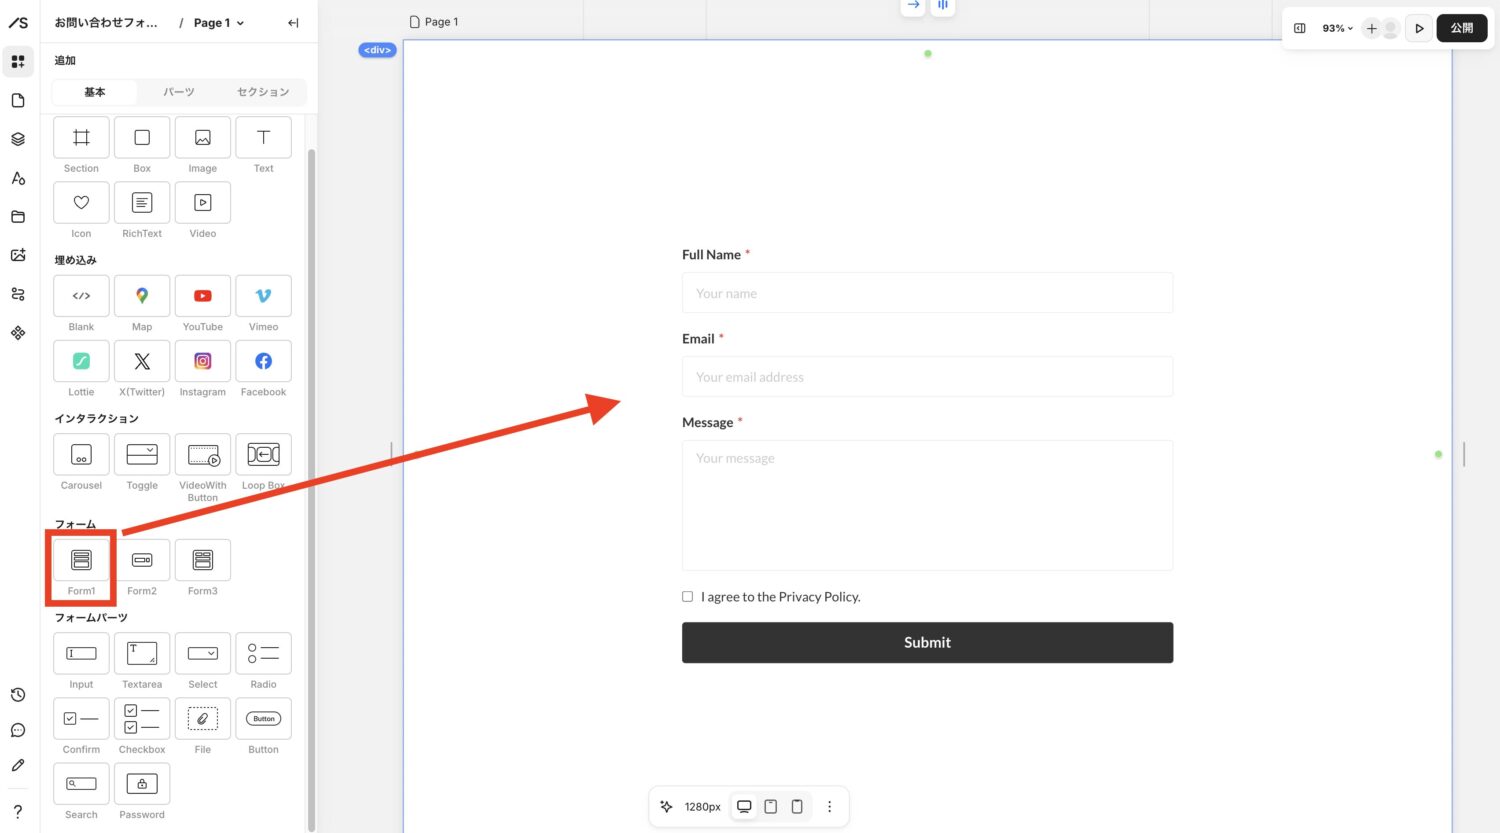
まず、お問い合わせフォームの設置は完了です!
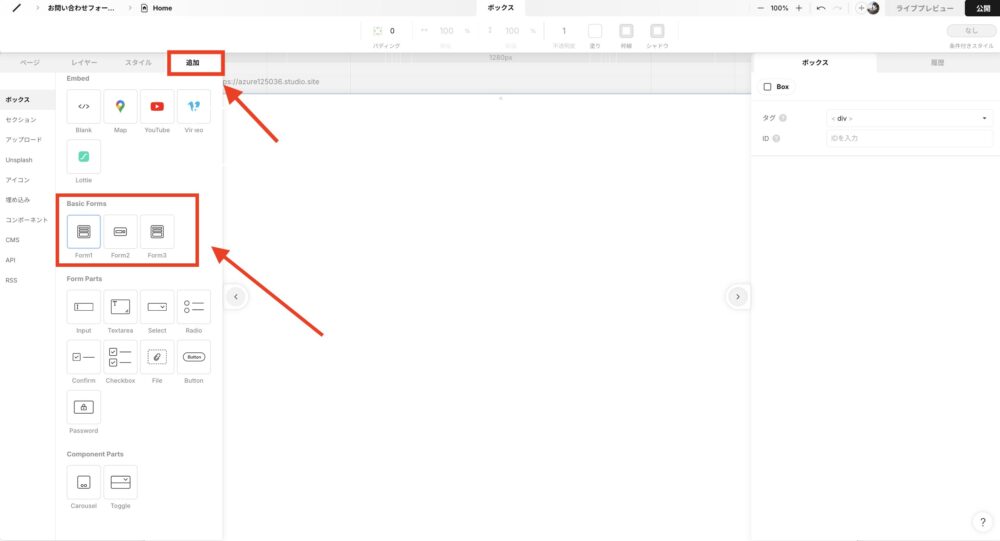
旧エディタ画面
左側のメニューの「追加」をクリックして、お問い合わせフォームを3つの中から選びます。
Kaji左がオーソドックス、真ん中がメールアドレスのみ、右が高機能なお問い合わせフォームになっています!
今回はよく使われる「Form1」を使用していきます。Form1を右側にドラッグ&ドロップしましょう。
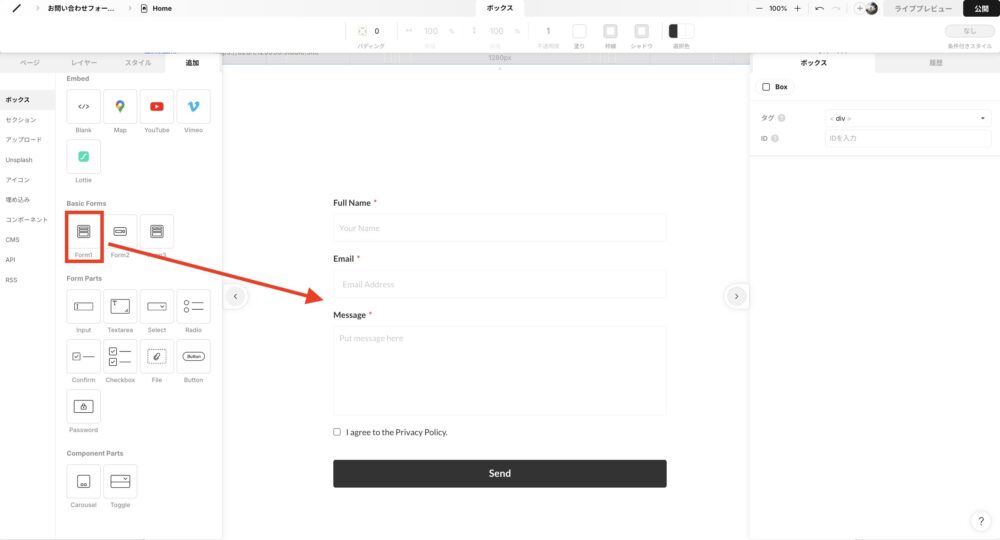
まず、お問い合わせフォームの設置は完了です!
Kajiもし付け足したい項目があれば、「Form Parts」から引っ張ってきましょう!
②:各項目のタイトルを編集する
初期設定だと、お問い合わせフォームの項目が「Full Name」や「Email」など日本人向けにはなっていません。
なので各項目のタイトルを英語→日本語に変更して、見栄えをよくしましょう。
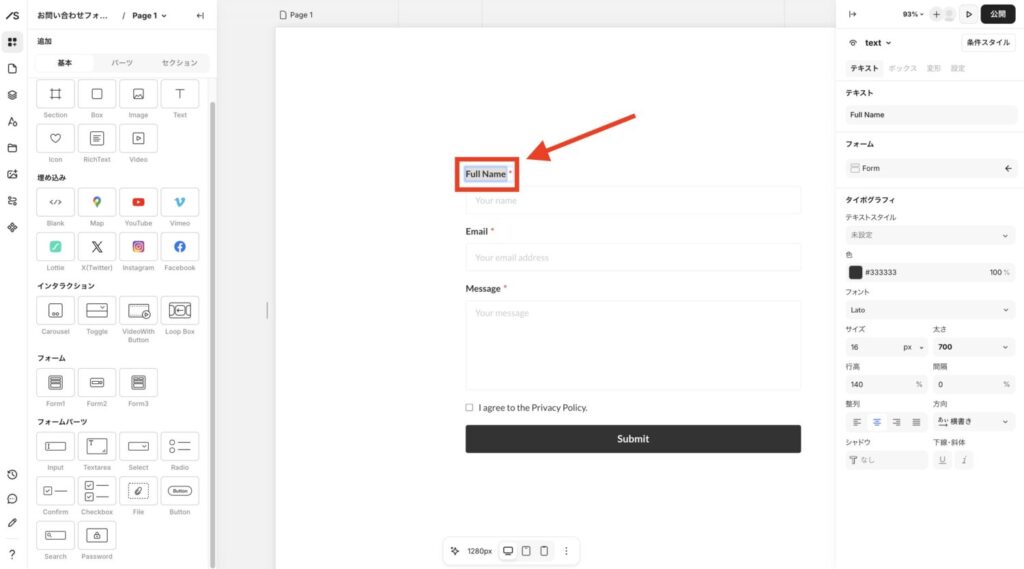
編集したい文字の部分をダブルクリックすれば、文字を変更できるようになります。
新エディタ画面
旧エディタ画面
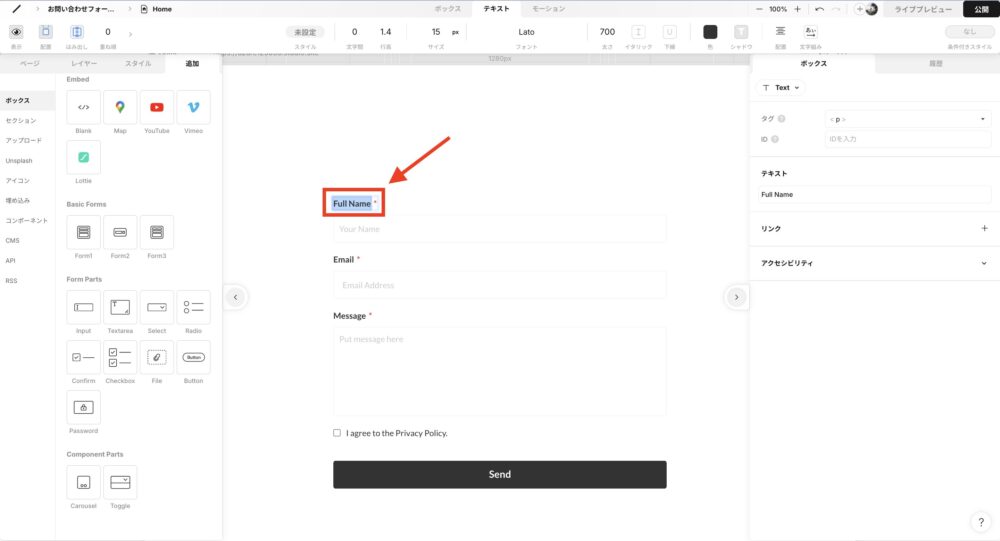
「Full Name」の部分を、「氏名」や「お名前」などに変更しておきましょう。
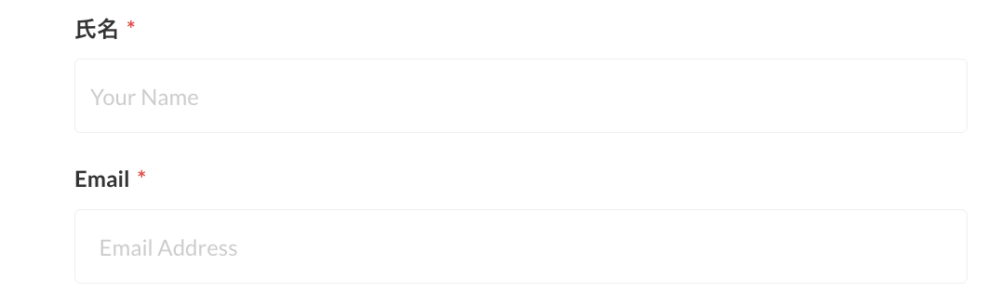
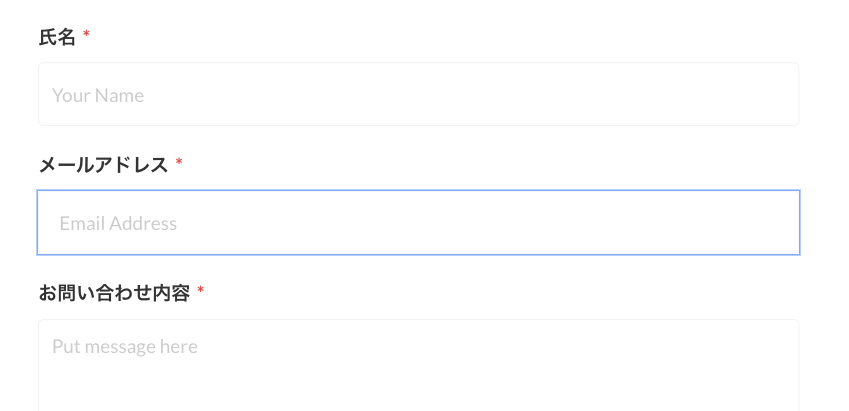
同様に「Email」→「メールアドレス」、「Message」→「お問い合わせ内容」というように変更しておきましょう。
③:各項目の詳細設定をおこなう
次に、各項目の詳細設定をおこなっていきます。設定する項目は、下記のとおりです。
- タイプ:基本的にはテキスト。メールアドレスと電話番号の入力欄だけ例外
- 必須項目:項目によって「任意」と「必須」を選択できます
- プレースホルダー:入力欄にあらかじめ表示されている文字
今回はお問い合わせフォームの項目である「メールアドレス」を例にしながら、詳細設定をおこなっていきます。
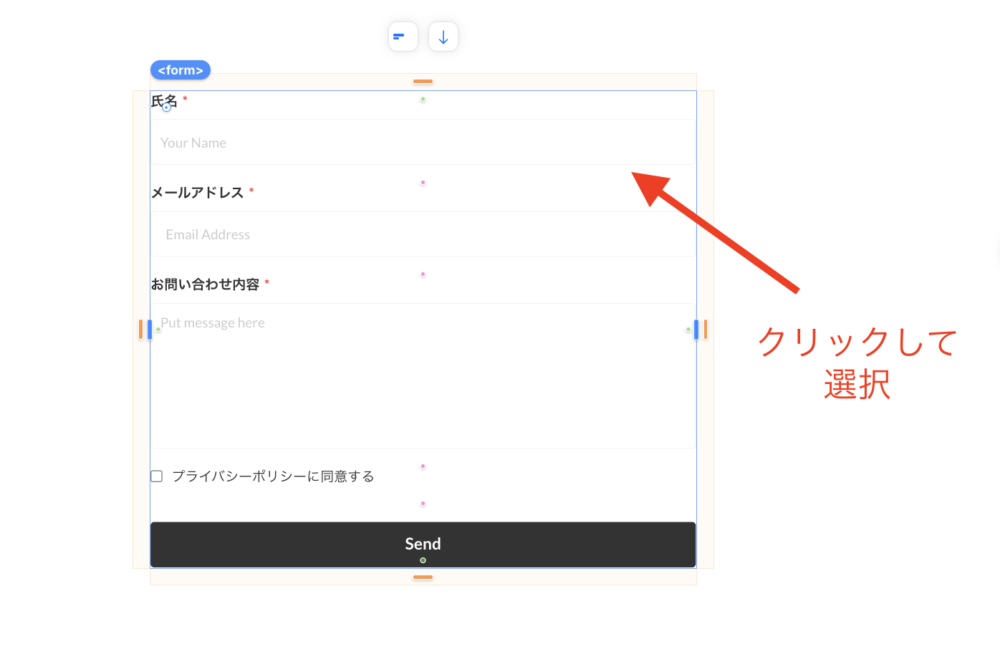
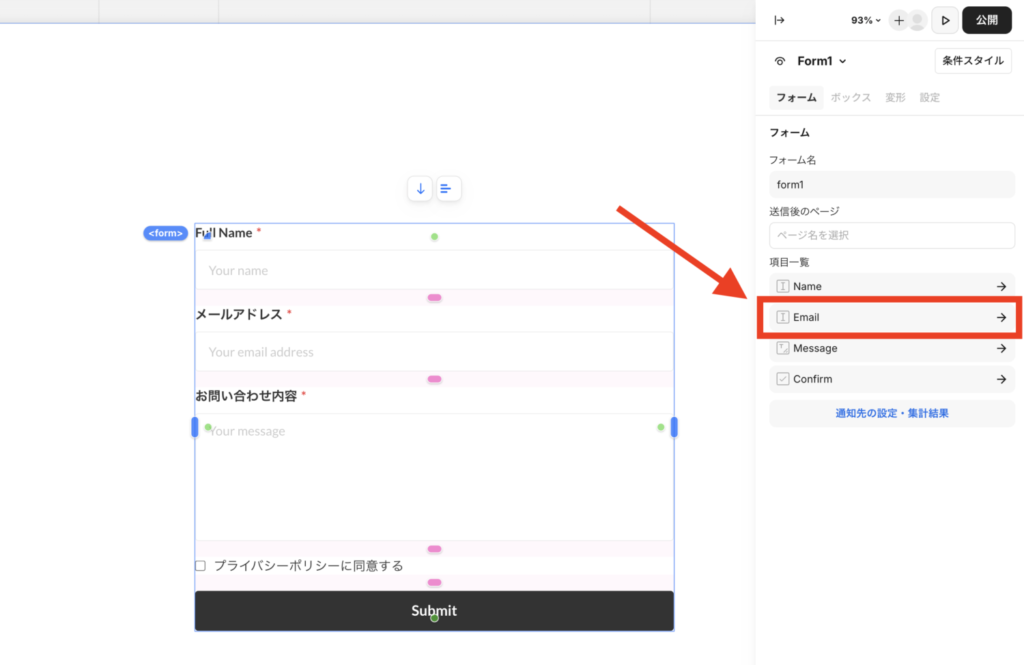
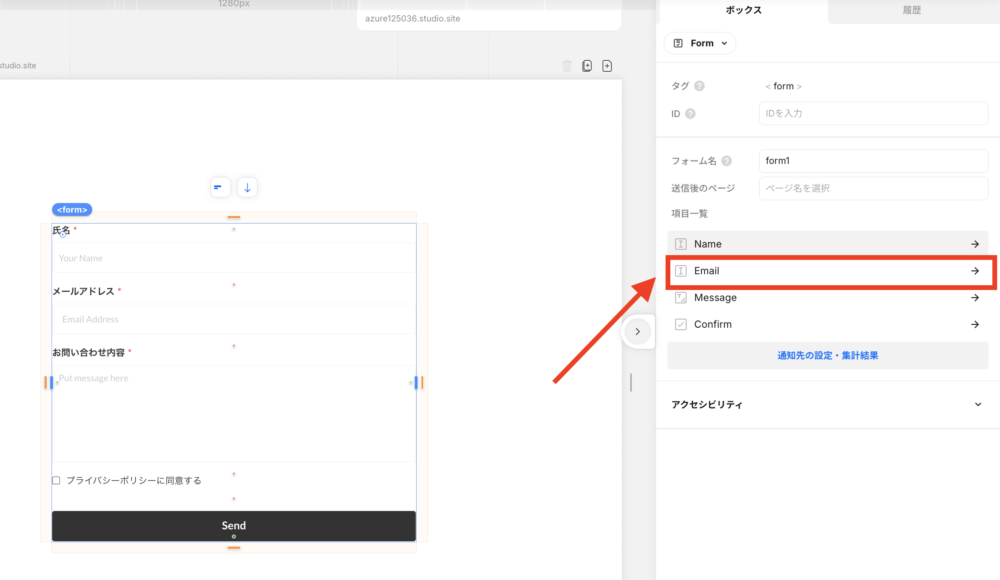
まずお問い合わせフォームをクリックして、全体を選択しましょう。
Kaji全体を選択できたら、お問い合わせフォームの周りがオレンジ色になるはずです!
右メニューに「Email」の項目が出てきますのでクリックしましょう。
新エディタ画面
旧エディタ画面
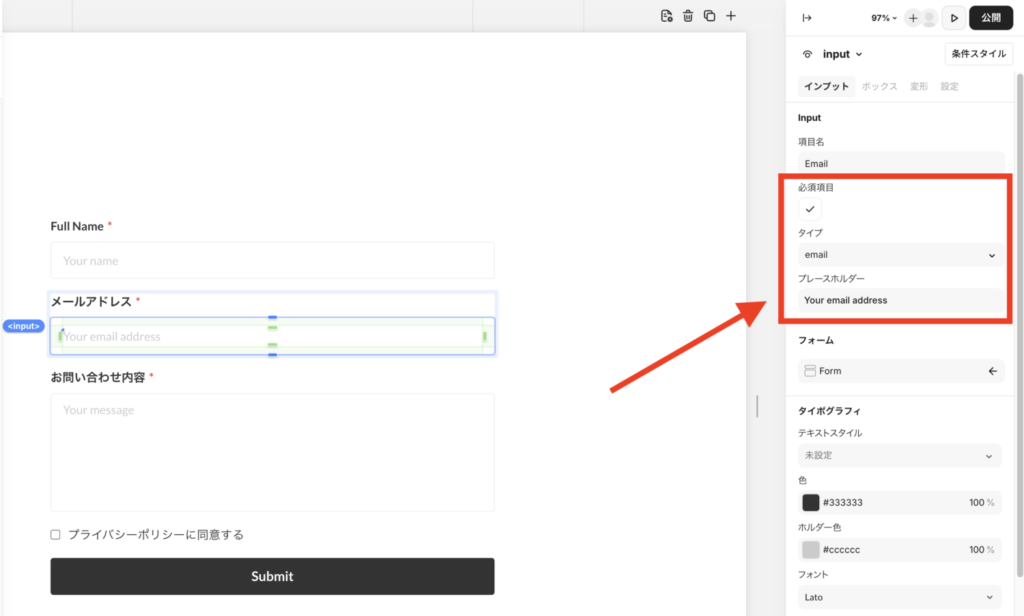
右メニューに「タイプ」・「必須項目」・「プレースホルダー」の設定欄が出てくるはずです。
新エディタ画面
旧エディタ画面

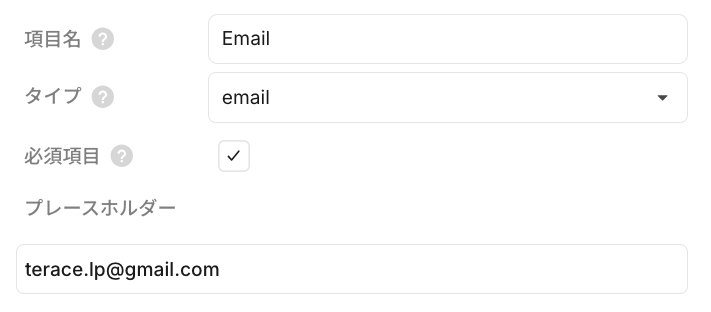
メールアドレスの項目は、下記のように設定してます。
- タイプ:email
- 必須項目:チェック有(メールアドレスは必ず取得したいため)
- プレースホルダー:terace.lp@gmail.com(今回は自社のメアドを採用)
これで詳細設定は完了です!「氏名」や「お問い合わせ内容」の項目も同様に、詳細設定をおこなっておきましょう。
④:送信先の設定をおこなう
これでお問い合わせフォームの大枠は完成しました。まだ済んでいないのがお問い合わせフォームの送信先です。
Kaji送信先を設定しておかないと、お問い合わせが入っても気づきません!必ず送信先の設定までやっておきましょう!
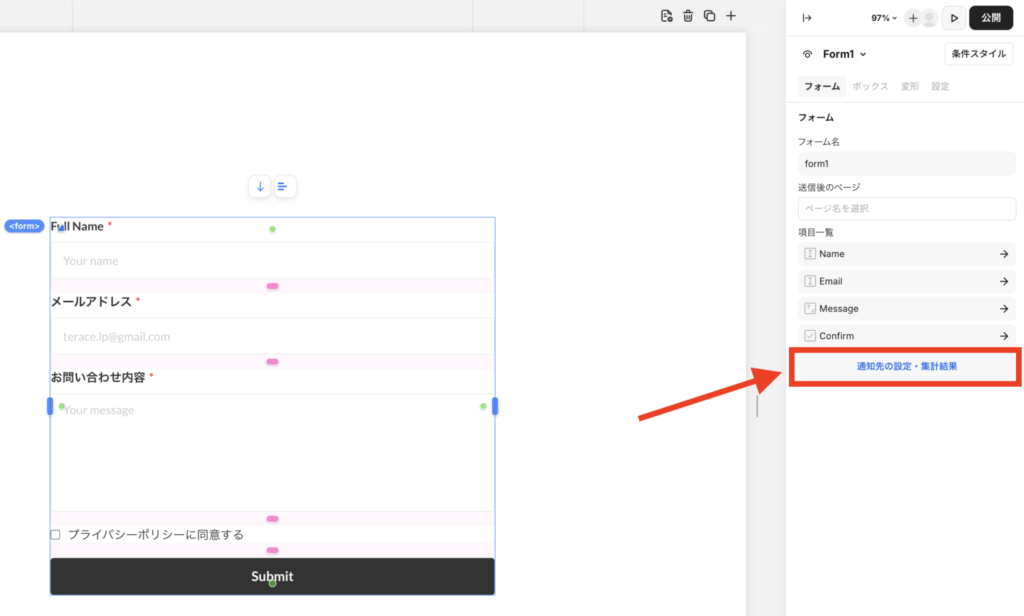
お問い合わせフォームをクリックして、全体を選択しましょう。
Kaji全体を選択できたら、お問い合わせフォームの周りがオレンジ色になるはずです!
右側メニューに「通知先の設定・集計結果」が出てくるのでクリックします。
新エディタ画面
旧エディタ画面

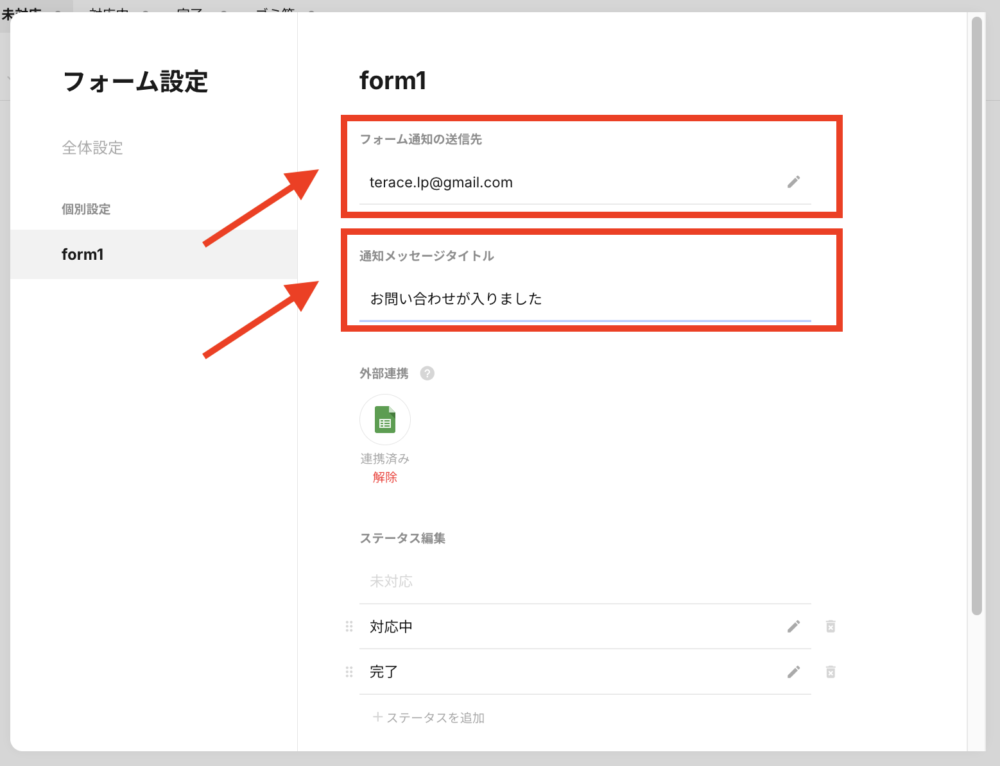
右上にある「設定」をクリックします。

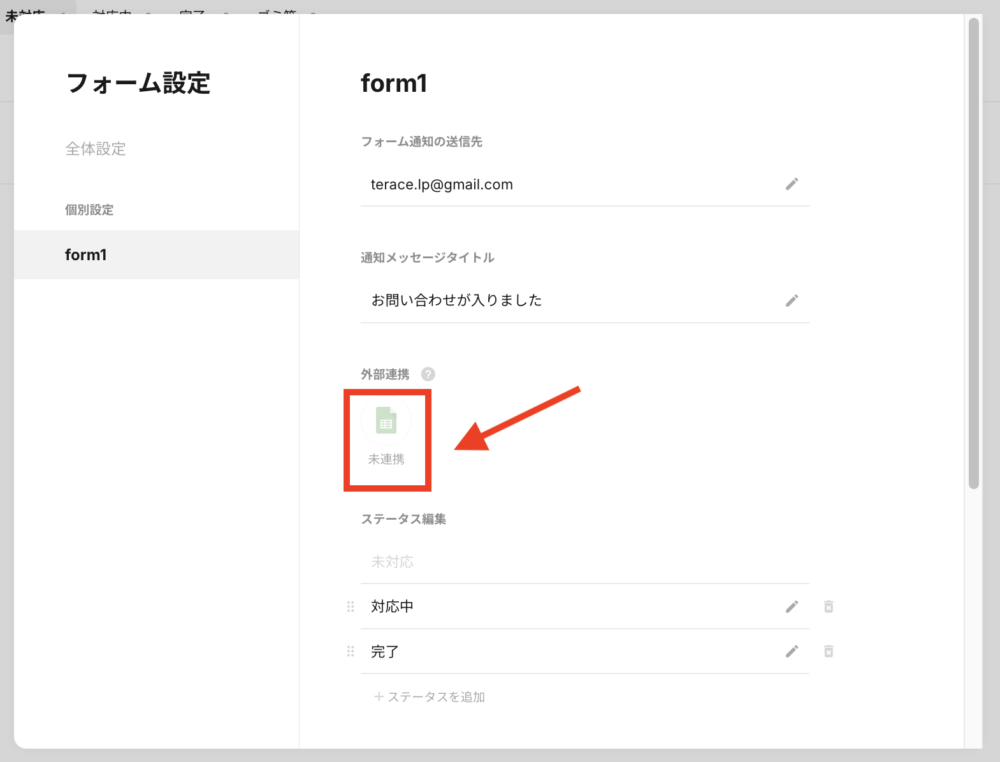
下記のようなポップアップが出てくるので、「フォーム通知の送信先」と「通知メッセージタイトル」を設定しましょう。
- フォーム通知の送信先:お問い合わせ内容が届くメールアドレス
- 通知メッセージタイトル:届くメールの件名
これでお問い合わせフォームの送信先の設定は完了です!
Kajiお問い合わせが入れば、登録したメールアドレスに「お問い合わせが入りました」の件名でメールが入るはずです。
⑤:サイトを公開する
では実際にサイトを公開してみて、お問い合わせフォームが届くか確認してみましょう。
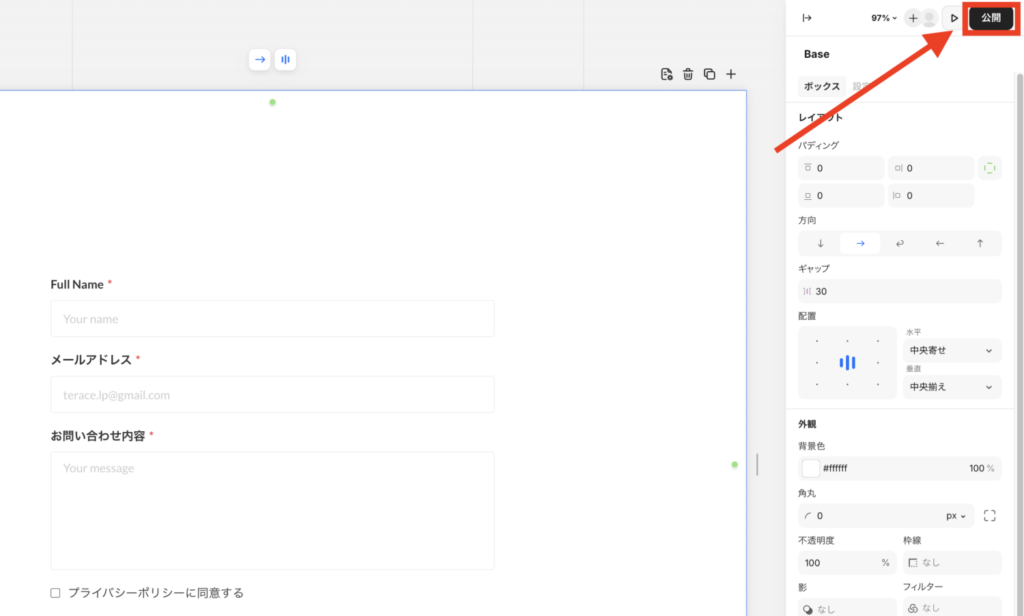
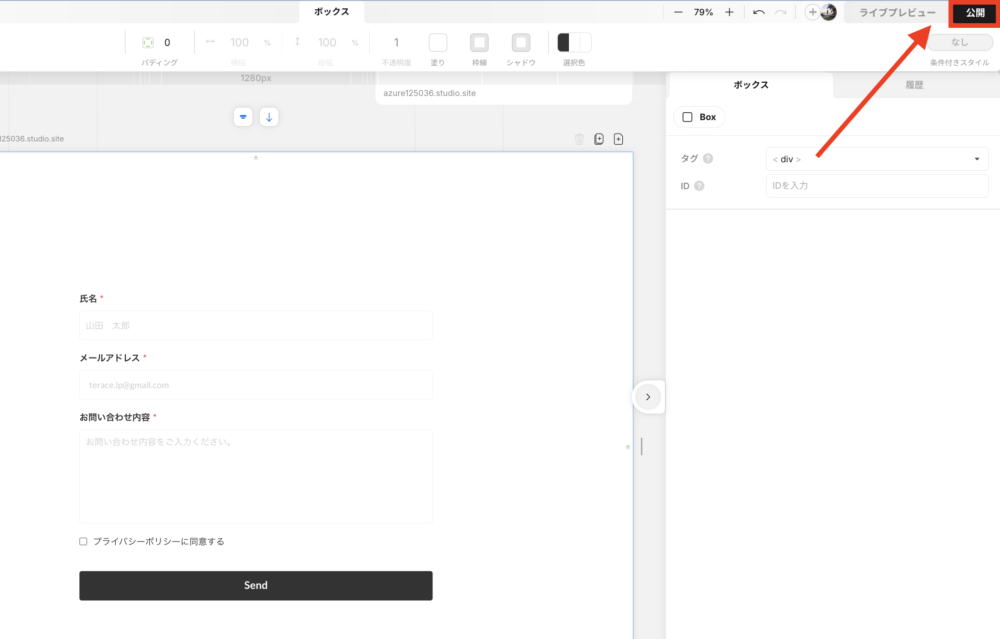
右上にある「公開」ボタンをクリックします。ポップアップが出てくるので、また「公開」をクリックしてOKです。
新エディタ画面
旧エディタ画面
公開したサイトにアクセスして、お問い合わせフォームを送信します。

登録していたメールアドレスに、下記のようなメールが届くはずです。
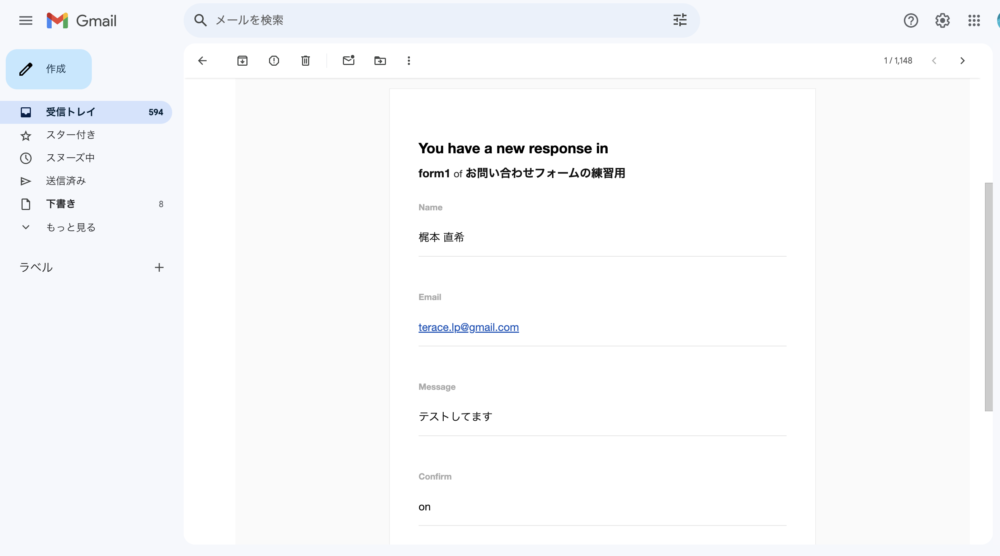 Kaji
Kajiメールの通知ONにしておけば、お問い合わせの確認が漏れることも少なくなるはずです!
STUDIOのフォームの上限数とは
STUDIOはフォーム数に上限が設定されており、超えてしまうとお問合わせ内容を確認できなくなってしまいます。
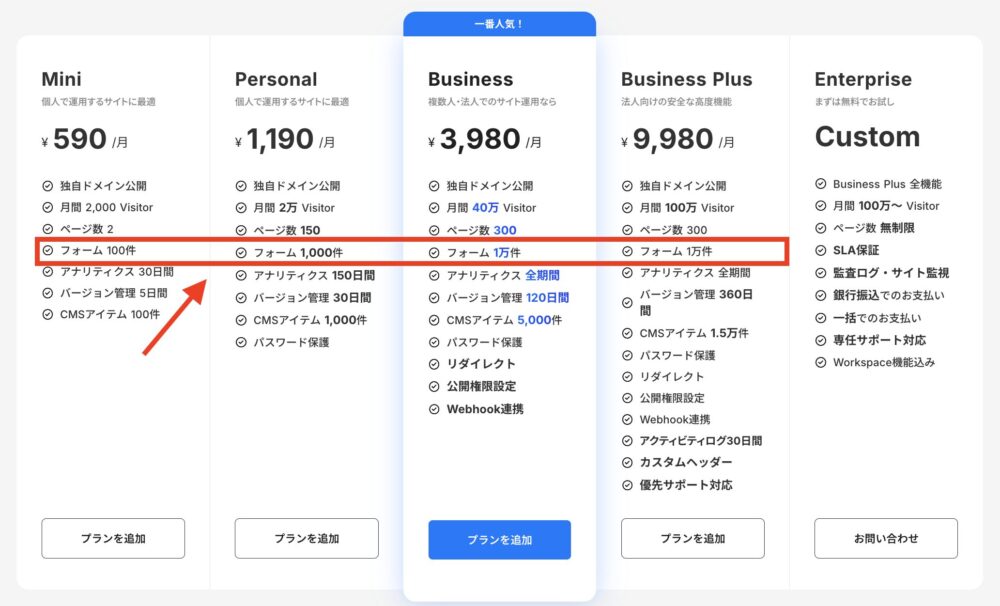
画像が見にくい方もいると思うので、表でもまとめておきます。
| プラン名 | フォーム数上限 |
|---|---|
| Free(無料) | 100件 |
| Mini | 100件 |
| Personal | 1,000件 |
| Business | 10,000件 |
| Business Plus | 10,000件 |
ちなみに上限に達してしまうと、新しい回答から見れなくなります。たとえばフォーム上限が100件だとしたら、101件目以降は回答が確認できないということです。
ですがSTUDIOはフォームに溜まった回答を削除していけば、フォーム数の件数は減っていきます。
Kajiフォーム件数が120件あっても、フォーム回答を50件を削除すれば合計70件になります!すると無料プランでも最新のフォーム回答が確認できるようになります!
中には、過去にお問い合わせしてきた人のデータを残しておきたいという方もいることでしょう。その場合は、回答内容をGoogleスプレッドシートに移動させておくのがおすすめです!
>>Googleスプレッドシートで集計管理をする方法について
STUDIOのお問い合わせフォームのカスタマイズ2選
上記で作ったお問い合わせフォームは、最低限のカスタマイズしか行っておりません。
そこでよく行われるカスタマイズを2つ紹介します。
どちらも設定は簡単です。ぜひ取り入れてみてください!
Googleスプレッドシートで集計管理する
お問い合わせ内容のデータは、STUDIOのダッシュボードに基本的に蓄積されていきます。ですがダッシュボードでのデータの管理・分析は役不足であり、効率が悪くなってしまいます。
そんな時に大活躍なのが「Googleスプレッドシート」です。
データを整列できるので、お問い合わせフォーム内に下記項目がある場合は、連携してみるとメリットが大きいでしょう。
- ラジオボタン
- チェックボックス
- セレクトボタン
お客様はどのようなニーズを持っているのか、よくいただくお問い合わせ内容は何か、などを分析するのもGoogleスプレッドで分析すればすぐにわかります。
データドリブンにサイトを運用したい方は、ぜひGoogleスプレッドシートと連携するようにしましょう。
◼︎Googleスプレッドシートとの連携方法
①お問い合わせフォームをクリックして、全体を選択しましょう。
Kaji全体を選択できたら、お問い合わせフォームの周りがオレンジ色になるはずです!
②右側メニューに「通知先の設定・集計結果」が出てくるのでクリックします。
③右上にある「設定」をクリックします。
下記のようなポップアップが出てくるので、外部連携の「スプレッドシート」のマークをクリックします。Googleアカウントを選択して、指示にしたがって進めましょう。
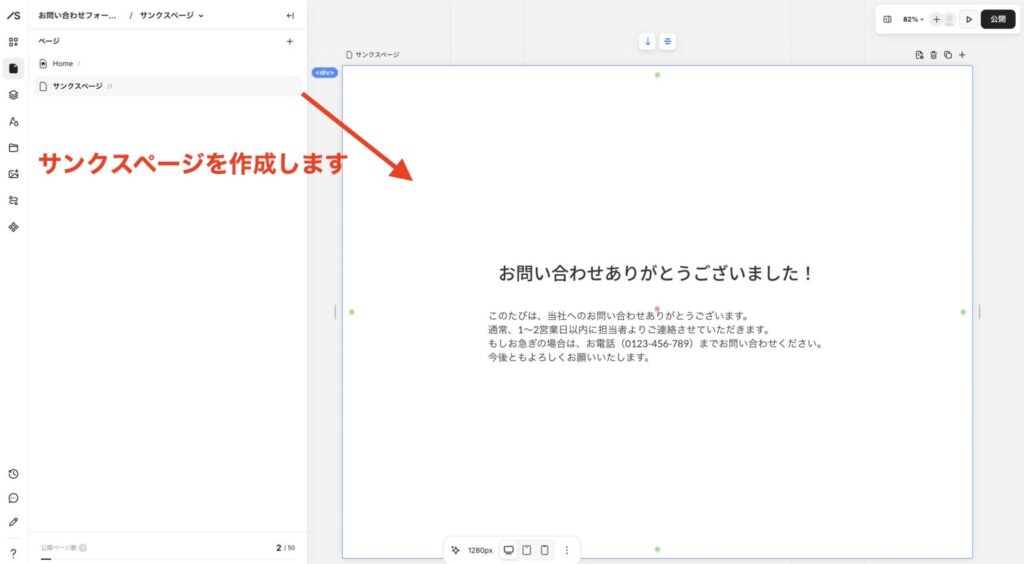
サンクスページを設定する
サイトの信頼性を高めるのであれば、お問い合わせ後の「サンクスページ」を用意するのがおすすめです。
Kajiサンクスページとは、お問い合わせフォームの送信後に表示されるページのことです!
- お客様に安心感を与えられる(正しく送信された証明になるから)
- お客様に違うサービス・製品の紹介ができる
- 次の行動を促すことができる(メールを確認してくださいなど)
サンクスページはメリットが多いので、面倒でなければなるべく設定するようにしましょう。
◼︎サンクスページの設定方法
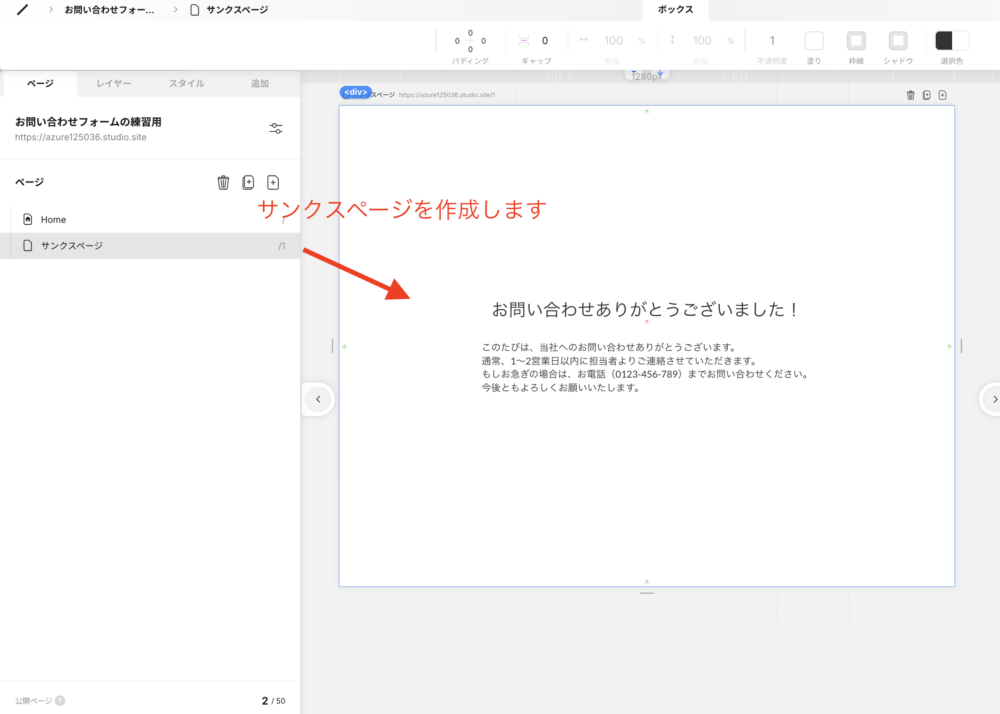
①新たなページを追加して、サンクスページを作成する。
新エディタ画面
旧エディタ画面
②お問い合わせフォームを設置しているページに戻り、お問い合わせフォーム全体をクリックします。
③右側メニューに「送信後のページ」が出てくるので、先ほど作ったサンクスページを選択します。
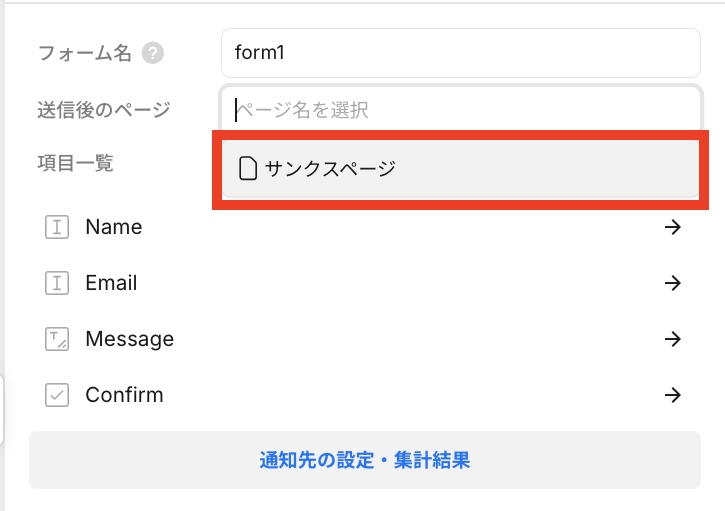
これでサンクスページの設定は完了です!
Kaji実際にお問い合わせフォームを送信すると、サンクスページに飛ぶようになっているはずです!ぜひ確認してみてください!
STUDIOのお問い合わせフォームに関するよくある質問
最後に、STUDIOのお問い合わせフォームに関するよくある質問に答えていきます。
STUDIOのお問い合わせフォームは無料で利用できますか?
無料で利用できます。
ただし、無料プランだと100件までしか回答を見れません。
100件を超過した場合、これまでに頂いている回答を削除すれば、回答数の枠を空けることができます。
例えば、120件の回答があった場合、30件頂いていた回答を削除することで回答数は「120件−30件=90件」となり、残り10回答は受けれるようになります。
無料プランはお問い合わせフォーム以外にもさまざまな制限を受けます。無料プランについて詳しく知りたい方は、「STUDIOの無料プランでできること9選|できない事例も紹介!」をぜひ参考にしてみてください!
自動返信メール機能を付けることはできますか?
可能です。
STUDIOの基本機能には自動返信メールがありませんが、外部ツールの「Zapier」を使うことで自動返信メールが送れるようになります。
送信メール数が100件未満であれば、Zapierも無料プランで使えます。実装自体もそんなに難しくないので、時間のある方はぜひ自動返信メール機能をつけてみましょう。
自動返信メール機能をつけたい方は、以下の記事を参考にしてみてください!
フォームの送信前に確認画面は用意できますか?
標準機能としては提供されていません。もし確認画面を実装したいなら、カスタムコードを使ってコーディングで挿入しなければなりません。
「CSS」や「Javascript」の知識がなければ実装は難しいだけでなく、有料プランに移行しなければカスタムコードを利用することはできないので注意しましょう。
どうしても確認画面を作りたい方は、STUDIOコミュニティの「フォームの確認画面を実装」を参考にしてみてください!
実装手順をより具体的に知りたい方は、以下の記事をご覧ください。
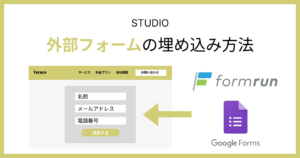
Studioは外部フォームを埋め込めますか?
外部フォームの埋め込みも可能です。
例えば「Googleフォーム」や「formrun(フォームラン)」など。高度なカスタマイズのお問い合わせフォームが欲しい場合はGoogleフォーム、顧客管理機能を持たせたいならformrunを検討するのがおすすめです。
ただし、埋め込みとなるとデザイン性は損なわれる可能性が高いので注意しましょう。
Googleフォームやformrunの埋め込み方法に関しては、以下の記事にまとめています。
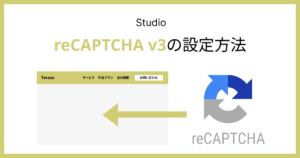
無料でスパム対策はできますか?
スパム対策をしたいなら、「Google reCAPTCHA v3」を導入するのがおすすめです。
reCAPTCHA v3ならユーザーの邪魔にならず、かつスパムメールを自動的にブロックしてくれます。
導入は初心者でもできるレベルで、10~20分あれば問題なく実装できます。実装方法については、以下の記事にまとめています。
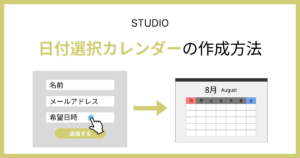
フォーム欄にカレンダーを追加することはできますか?
Studioの仕様上、カレンダーを追加することはできません。
例えば、無料カウンセリングの希望日時をお客様から取得したい場合、カレンダーから選択してもらうのではなく、希望日時欄に「◯月◯日 19:00」のように直接入力してもらう必要があります。
カレンダーをどうしても導入したい場合は、カスタムコード機能やコードが埋め込めるEmbedボックスを利用して、外部フォームの埋め込みを検討するようにしましょう。
カスタムコードでフォームに日付選択カレンダーを設置したい場合は、ぜひ以下の記事を参考にしてみてください。
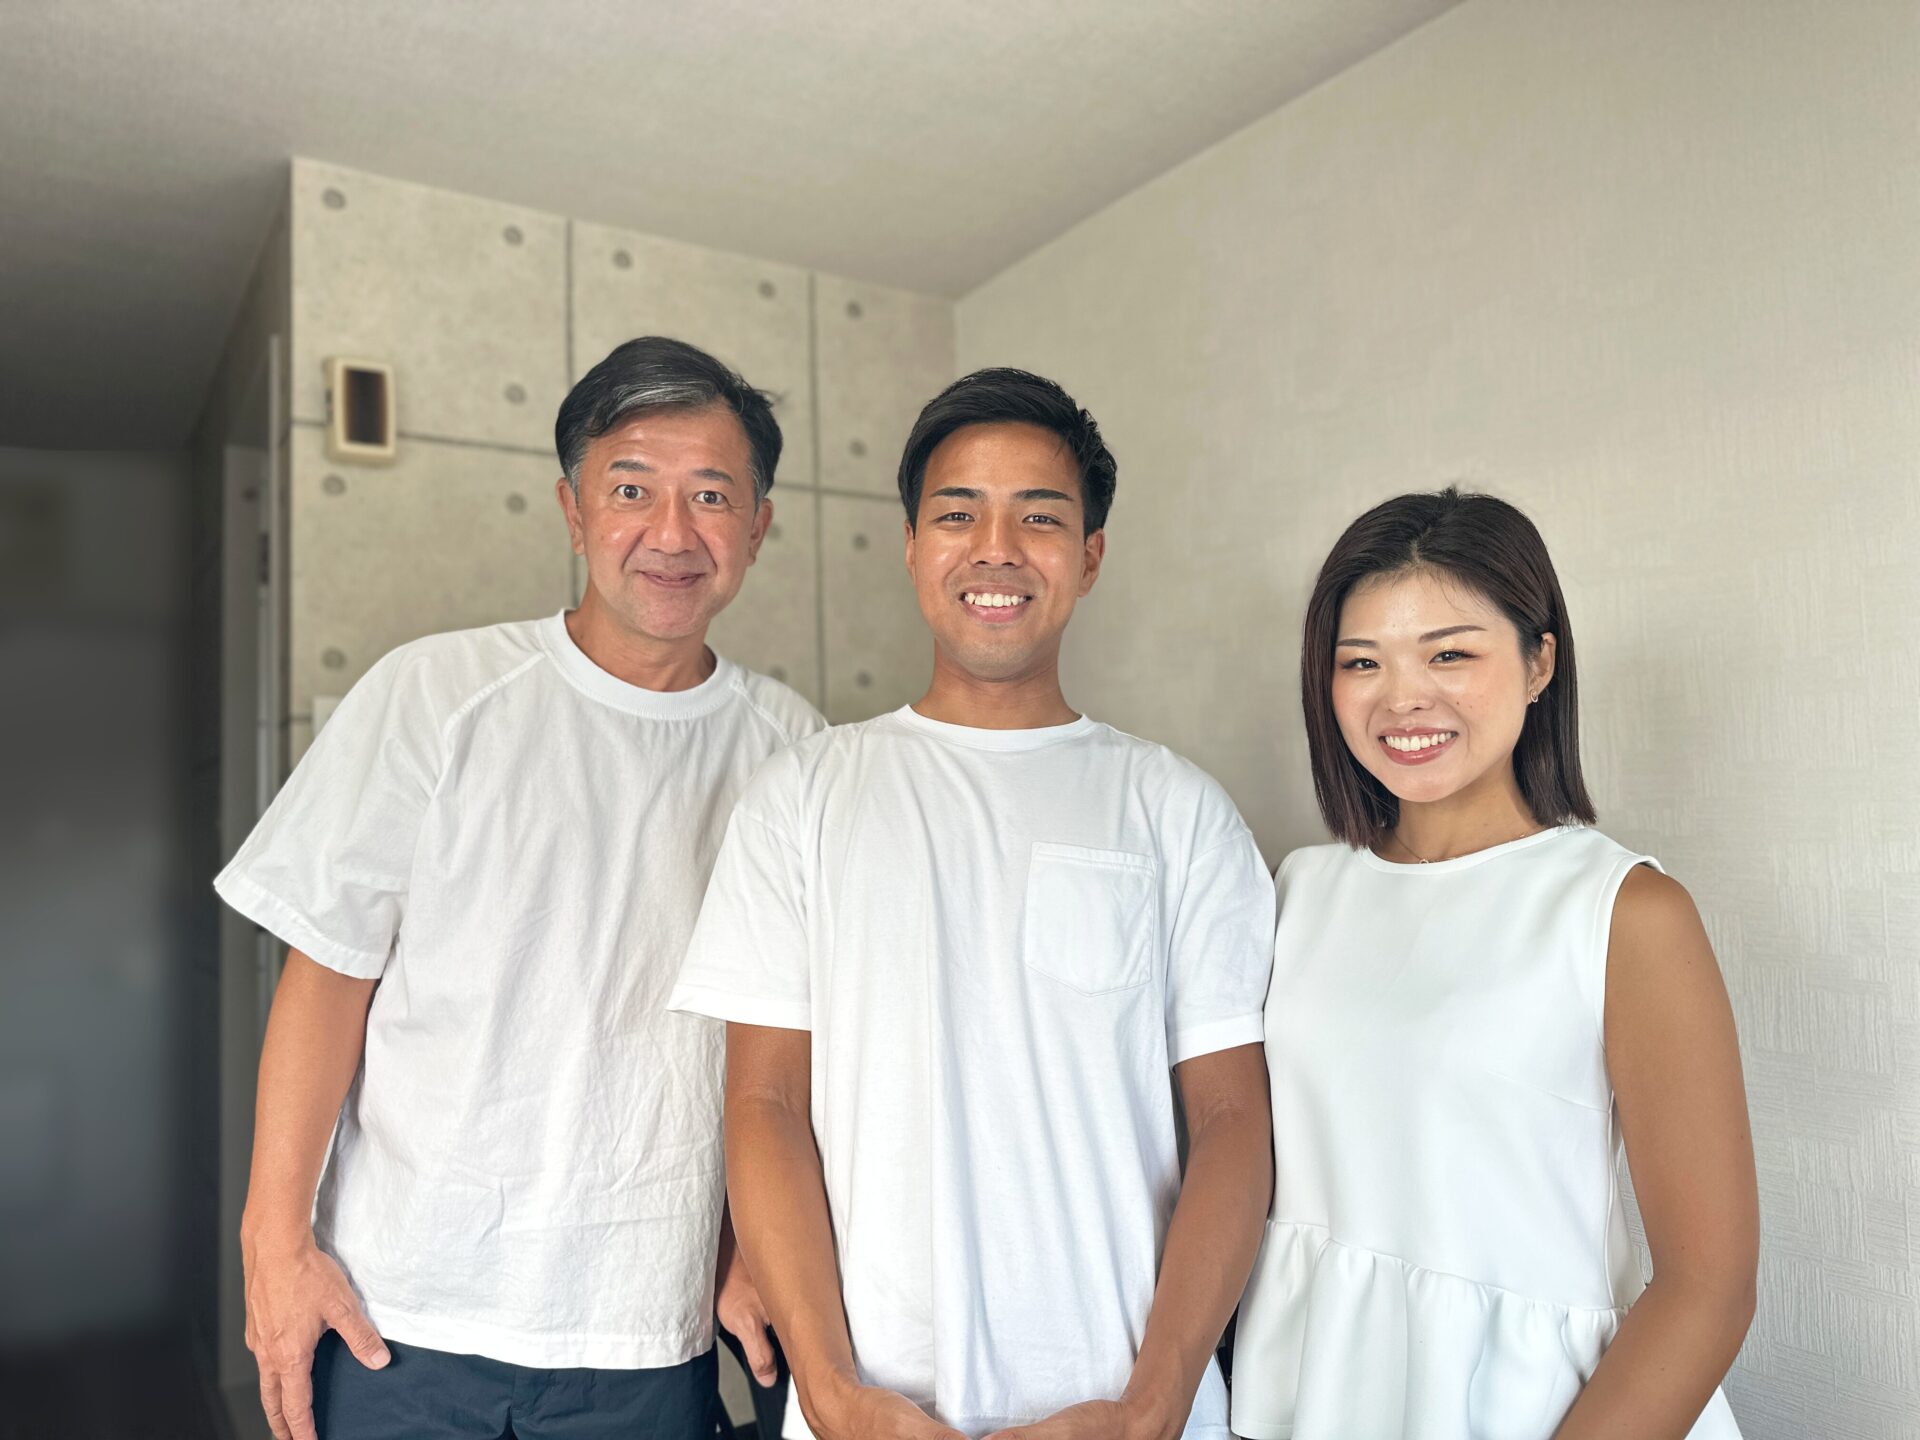
ホームページ制作は「Terace」にお任せ!
当メディアを運営する私達は、ホームページ制作のサービス「ラク子」を運営しています。
Kaji「デザイナー」と「フロントエンジニア」のフリーランス3名で運営中!
- ポッキリ価格でホームページを制作できる
- 専属デザイナーが完全オリジナルのデザイン作成
- 納品後1ヶ月間は無料の電話サポートあり
- 自社更新できるホームページが作れる
- ホームページ制作期間中は何度でも無料相談できる
- 顔の出ているフリーランス3人が運営
- 維持費0円でホームページを運営できる
また「ラク子」の料金プランは、下記のとおりです。

ポッキリ価格でホームページが作れるサービスであり、個人事業主や中小企業からよく選ばれています。サービス利用者の声を聞きたい方は、ぜひ以下のインタビュー記事をご覧ください。
今だけ、毎月3組まで制作費用が3万円割引になるキャンペーンを行っています。
先着順で締め切るので、気になる方はぜひお早めにお問い合わせください!
ebook
【無料のお役立ち資料】
初ホームページ制作のよくある質問集

ホームページ制作に関するよくある質問14選にすべて答えています。
「自作するべきなのか」か「Web制作会社に任せるべきか」など、これまでホームページ制作をやっていく中で1番よく受けた質問を厳選しています。
無料でダウンロードできるので、これからホームページを作成する予定の方はぜひ参考にしてみてください!

※コメントは最大500文字、5回まで送信できます